On this page
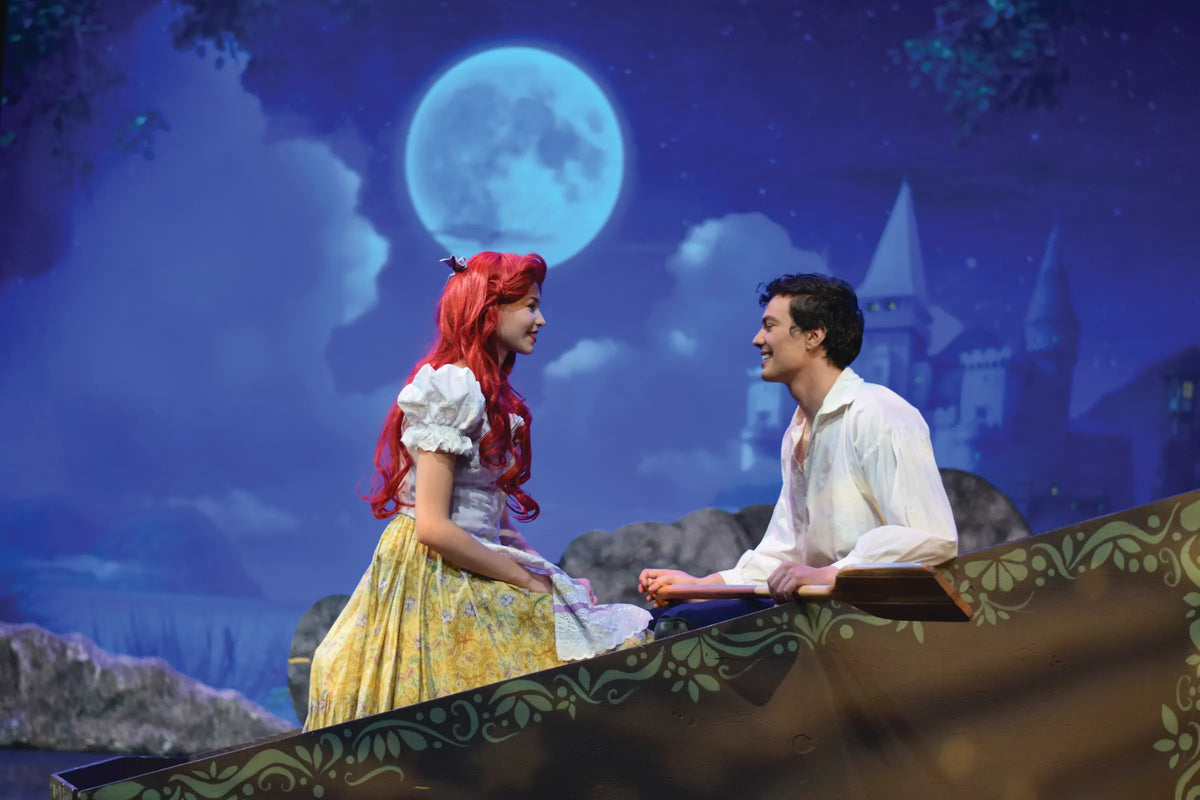
Projection can give a school production scenery that changes in a second: a forest, a city skyline, a storm rolling in. But projection and stage lighting compete for the same thing, the audience's eye, and if you don't plan for it, the lighting wins and the image looks gray and washed out. This guide explains why that happens and how to set up a show where actors and images both look their best.
Why light and projection fight
A projector can't project black. It can only add light. The darkest part of any projected image is simply the screen as it looks with the projector showing black, so whatever other light lands on that surface sets how dark your blacks can be.
That's the whole problem in one sentence: any stage light that lands on the projection surface lifts the black level and washes out the image. Colors fade, contrast drops, and dark scenes turn a milky gray. It doesn't take much: the edge of a front light beam, light bouncing off a bright floor, or a cyc light left on at a low level.
Spill washes the image
Light lands on the floor instead
So the goal isn't a darker show. It's controlled light: actors lit well, and the surface kept as dark as possible except for what the projector puts there.
Placement first: hang the projector upstage
Where the projector goes decides how hard the lighting job will be. Front projection from the back of the house is the obvious choice, but it creates two problems: actors walking downstage of the screen step into the beam and cast shadows on the image, and the long beam passes through the same air as your front light.
Stage Gear's recommended setup for most school stages is still front projection, but from the other direction: the projector hangs upstage, on a pipe over the stage behind the actors, fitted with a 0.35:1 ultra short throw folded lens aimed at the screen or cyc.
- 1Projector hung upstage with a 0.35:1 ultra short throw lens
- 2Screen or cyc, a few feet upstage of the projector
- 3Actors work downstage, never in the beam
- 4Front light lands on the floor before the screen
- 5Keep this strip clear of light and actors
- No actor shadows. The beam travels only a few feet, from the pipe to the surface, so actors never cross it.
- Actors can work close. Scenes can play downstage and center without anyone ducking out of the image.
- Less fighting with stage light. The beam is short and steep, so it is less affected by actors and by the geometry of your lighting positions.
- Short distances. A 0.35:1 throw ratio means the lens sits about 0.35 feet from the screen for every foot of image width. A 20-foot-wide image puts the projector about 7 feet from the surface.
Because the projector is in the stage space, plan masking so the audience doesn't see it, plan power and a long-run video signal to that pipe, and have it hung by qualified people with a safety cable. Use our throw distance calculator to check placement for your image size, and see choosing a projector lens for how ultra short throw lenses compare with standard lenses.
Rear projection: the specialty alternative
Rear projection puts the projector behind a translucent rear-projection screen, so the audience sees the image through it. It also keeps actors out of the beam, and it can be the right answer for some designs, but it needs depth behind the screen, a proper rear-projection surface, and that space can't be used for crossovers or storage. For most school stages, upstage front projection with an ultra short throw lens gets the same benefits with fewer compromises. Compare front and rear projection.
Keep light off the surface
Once the projector is placed, the lighting plan's job is to put light on actors and keep it off the image. These are the tools lighting designers use:
- Steeper front light. Light from higher positions (a higher FOH position, or the first overhead electric) lands on the floor sooner, before it reaches the screen. Flat, low front light travels much farther upstage.
- Shutters and barn doors. Cut the upstage edge of front light beams with ellipsoidal shutters so the beam stops short of the surface. Use barn doors on wash fixtures to do the same.
- Side and back light near the screen. For actors working close to the image, side light from the wings and steep top or back light reach the actor without throwing a beam toward the surface. A flat front wash is the worst offender.
- Distance. Every foot between the downstage edge of the image and the nearest acting area gives front light more floor to land on. Keep a clear strip in front of the surface whenever the set allows.
- The floor bounce. Light reflects off the floor and up onto the surface. A dark, matte floor reflects far less than a light or glossy one. Painting the deck or laying a dark dance floor can noticeably improve projected contrast.
- Cyc lights. If you project on the cyc, keep cyc lighting off while the image is up, or use it only where there is no image.
In tech, put the projector on a black frame and bring up each lighting cue one at a time. Anything that makes the surface visibly glow is spill. Fix it with angle, shutters or distance before you add more brightness.
Color temperature and balance
Projectors and stage fixtures each have their own idea of white. If the projected image looks blue next to warm stage light, or the actors look orange against a cool image, the stage looks mismatched.
- Match your whites. Set the projector's color mode and the lighting's whites so they look like they belong to the same world. Do this early in tech, with actors on stage.
- Avoid pure white backgrounds behind actors. A bright, white image is itself a big light source. It lights the stage from behind and turns actors into silhouettes.
- Dark backgrounds make actors pop. Images built on dark or mid-tone backgrounds leave room for front light to define the actors. Keep important image content above head height, where actors won't block it from the audience's view.
Haze and projection
Haze makes light beams visible, including the projector's. With upstage, ultra short throw projection the beam is short and steep, so haze mostly adds atmosphere without carving a visible cone across the stage. With projection from the back of the house, haze reveals the whole beam and scatters light, which lowers image contrast.
Use a light, even haze and test it with your actual content. Before using haze or fog at all, check your building's smoke detector and fire policy and coordinate with facilities.
Brightness: more ambient light needs more lumens
Even with careful lighting, some stage light will reach the surface. The more light on stage during projected scenes, the brighter the projector needs to be to hold contrast. Image size, the surface, and how bright your scenes are all affect the answer. Our guide to how many lumens a theatre projector needs walks through it, and our theatre projectors page shows the options. The surface matters too: see projection screens and surfaces.
Cue lighting and video together
The best-looking projection shows are built in the same room at the same time. Plan for it:
- Tech them together. Program lighting and video in the same tech sessions, so every lighting cue is checked against the image it plays with.
- Label cues clearly. Name or number video cues to match the lighting cues they go with, so the stage manager can call them together.
- Build a black cue. Use a true black or blank video cue between scenes, and the projector's mute or shutter function for total black, rather than leaving a frozen image or a menu on screen.
- Plan transitions. Decide whether light or video moves first in each transition. Small timing offsets often look smoother than everything changing at once.
Checklist
- Projector placement chosen, ideally hung upstage with a 0.35:1 ultra short throw lens.
- Projector hung by qualified people with a safety cable, masked from view, with power and signal planned.
- Front light angles steep enough to land on the floor before the surface.
- Shutters and barn doors cut to keep light off the image.
- A clear strip between the acting area and the surface.
- Floor checked for bounce; dark and matte if possible.
- Projector and lighting whites matched.
- Content designed with dark backgrounds and key content above head height.
- Haze tested with real content, and the fire and smoke detector policy checked.
- Projector brightness sized for the light on stage.
- Lighting and video cued together, with a black cue ready.
Want us to plan it?
Stage Gear designs lighting packages and projection systems for school stages, and can plan them together so they work as one. Send us your stage measurements and how you want to use projection.
Updated October 2026